GIMP Starfield Nebula
1. Nebula Plasma
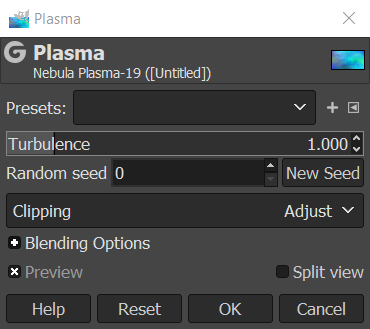
Create layer called "Nebula Plasma". Then go to Filters/Render/Noise/Plasma. Change turbulence and select a random seed to your liking.
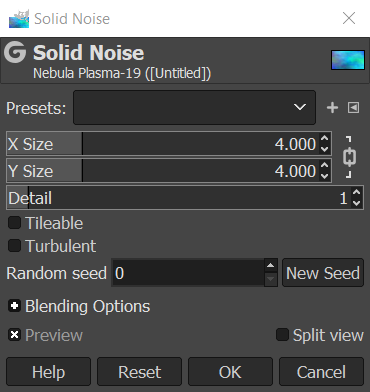
2. Nebula Noise
Create layer called "Nebula Noise". Then go to Filters/Render/Noise/Solid Noise. Change settings to your liking. Set the layer mode to Linear Burn.
3. Color Plasma
Create layer called "Color Plasma". Then go to Filters/Render/Noise/Plasma. Change turbulence and select a random seed to your liking. Set the layer mode to Overlay.
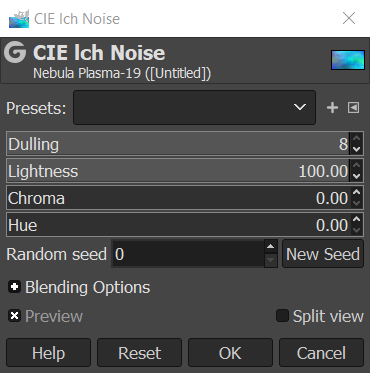
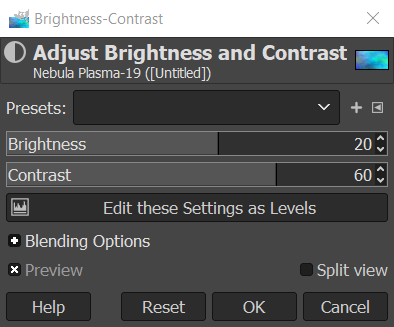
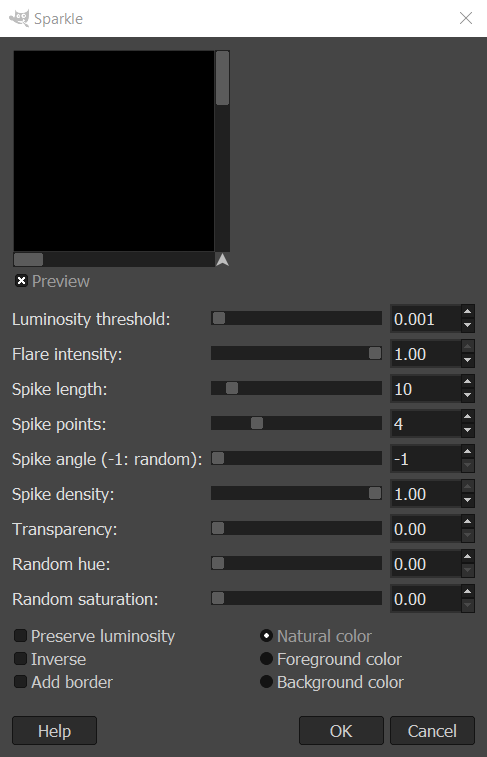
4. Front Stars
Create layer called "Front Stars". Fill layer with black. Go to Filters/Noise/CIE Ich Noise. Set Dulling to 8, Lightness to 100, Chroma to 0, and Hue to 0 or to your liking. Go to Colors/Brightness-Contrast and set Brightness to your liking. I used 20 for Brightness and 60 for Contrast. Go to Filters/Light and Shadow/Sparkle and set Luminosity Threshold to 0.001, Flare Intensity to 1.0, Spike Length to 10, Spike Points to 4, Spike Angle to -1, Spike Density to 1, Transparency to 0, Random Hue to 0, and Random Saturation to 0. Set layer mode to Addition.
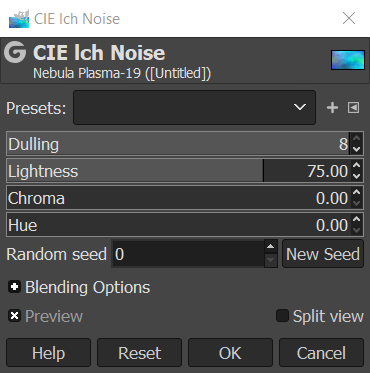
5. Back Stars
Create layer called "Back Stars". Fill layer with black. Go to Filters/Noise/CIE Ich Noise. Set Dulling to 8, Lightness to 75, Chroma to 0, and Hue to 0 or to your liking. Go to Filters/Light and Shadow/Sparkle and set Luminosity Threshold to 0.006, Flare Intensity to 0.5, Spike Length to 10, Spike Points to 4, Spike Angle to -1, Spike Density to 1, Transparency to 0, Random Hue to 0, and Random Saturation to 0. Set layer mode to Addition.

6. Layer Order
Make sure the layers are in the following order: Color Plasma, Front Stars, Back Stars, Nebula Noise, Nebula Plasma.
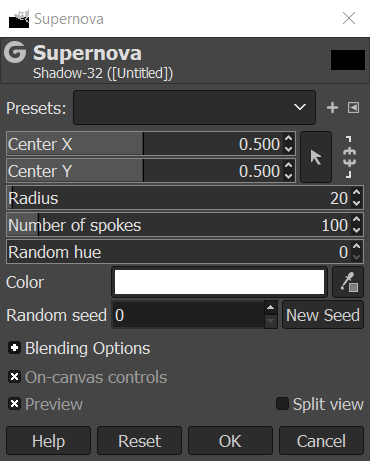
7. Optional Supernovas
The Supernova layer would go below the Color Plasma layer. Go to Filters/Light and Shadow/Supernova. Then ajust the size, location, and color. Add as many supernovas as you want.
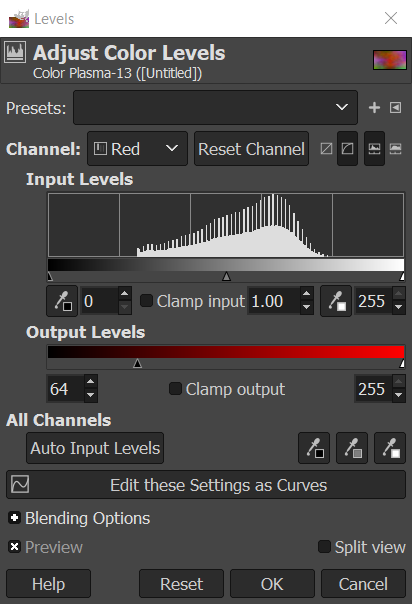
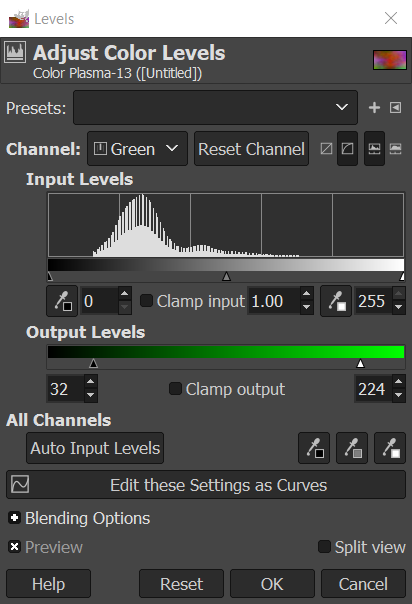
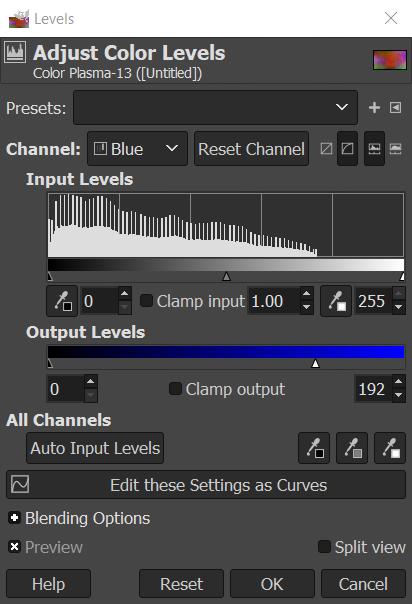
8. Optional Color Adjustments
You can go to Colors/Levels and then adjust the Red, Green, or Blue maximums and minimums for any of the layers.